Friday, February 24, 2023

Daisy Band Sampler Pincushion

I've drawn up a pattern for the little pulled thread sampler I've been working on in the background and the pattern is now available in the Etsy shop. You can see more about it by clicking here.

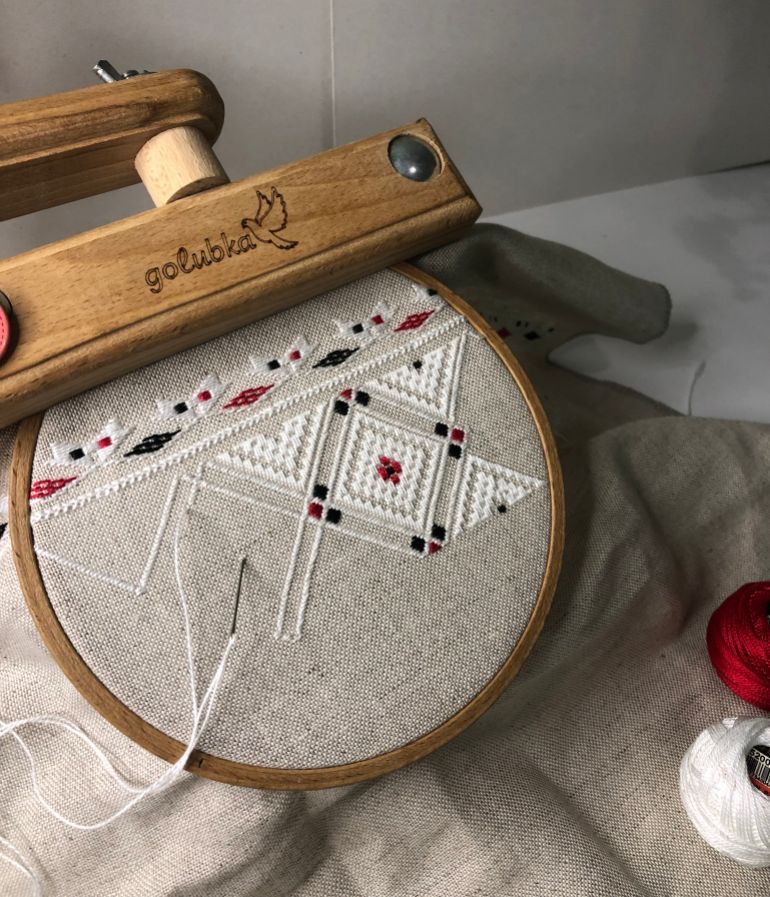
The idea for the embroidery originally grew from trying out a piece of pulled thread embroidery without the benefit of an embroidery frame. You can read more about that in this blog post here. Although it was a novel experience and quite successful, I am more familiar with embroidering in a frame and since completing the sampler, I have reverted to using one. 

Originally, I wanted to see how different or difficult it was to work various stitches while holding the embroidery in my hand and I chose several popular pulled thread stitches for my test sampler. I also love doing a variety of different embroidery stitches. Any excuse to add another stitch! I can see why through the years samplers of all types have had an endless appeal to embroiderers. 

It's simply fun to use lots of different stitches and watch how each one turns out as you stitch it - without the distraction of a design. The stitches speak for themselves.

Once the stitching was done and it seemed like a nice little project to do, I started drawing up a pattern. But, there were quite a few delays. Besides Christmas and having family to stay, one was that the software I use suddenly had a glitch. That took quite a while to iron out. Another was that photos of the finished pincushion proved a challenge. The first few with my trusty point-and-shoot camera were disappointing, so Rod took some with his phone. 

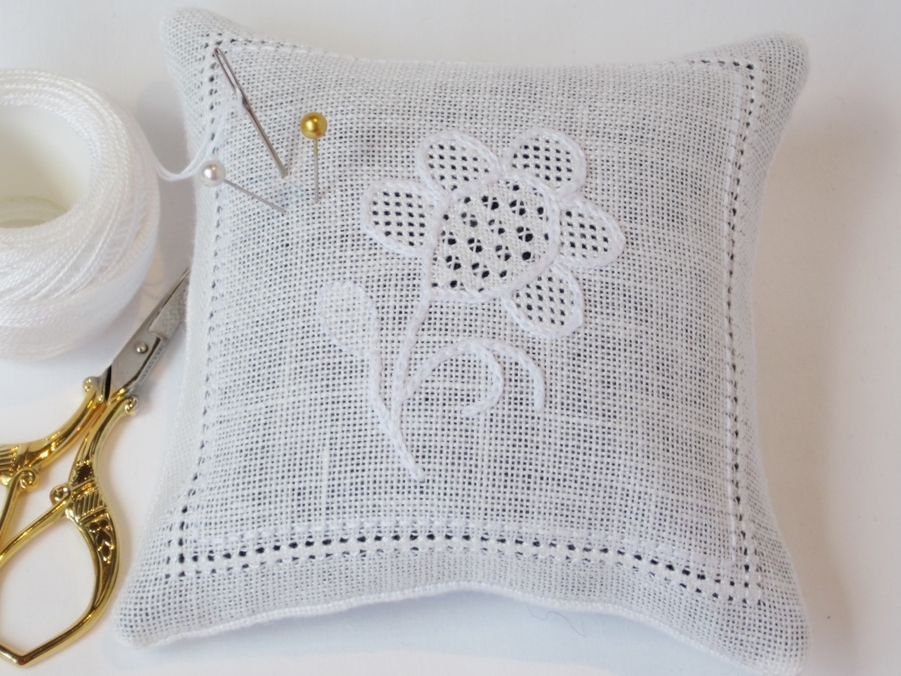
They were much better than my first two attempts but the rich inky background turned out to be rather overwhelming. In the end, we had a bright day and I found a bright spot on the patio to take the photos. I settled on the white background I started out with and used those photos for the pattern.

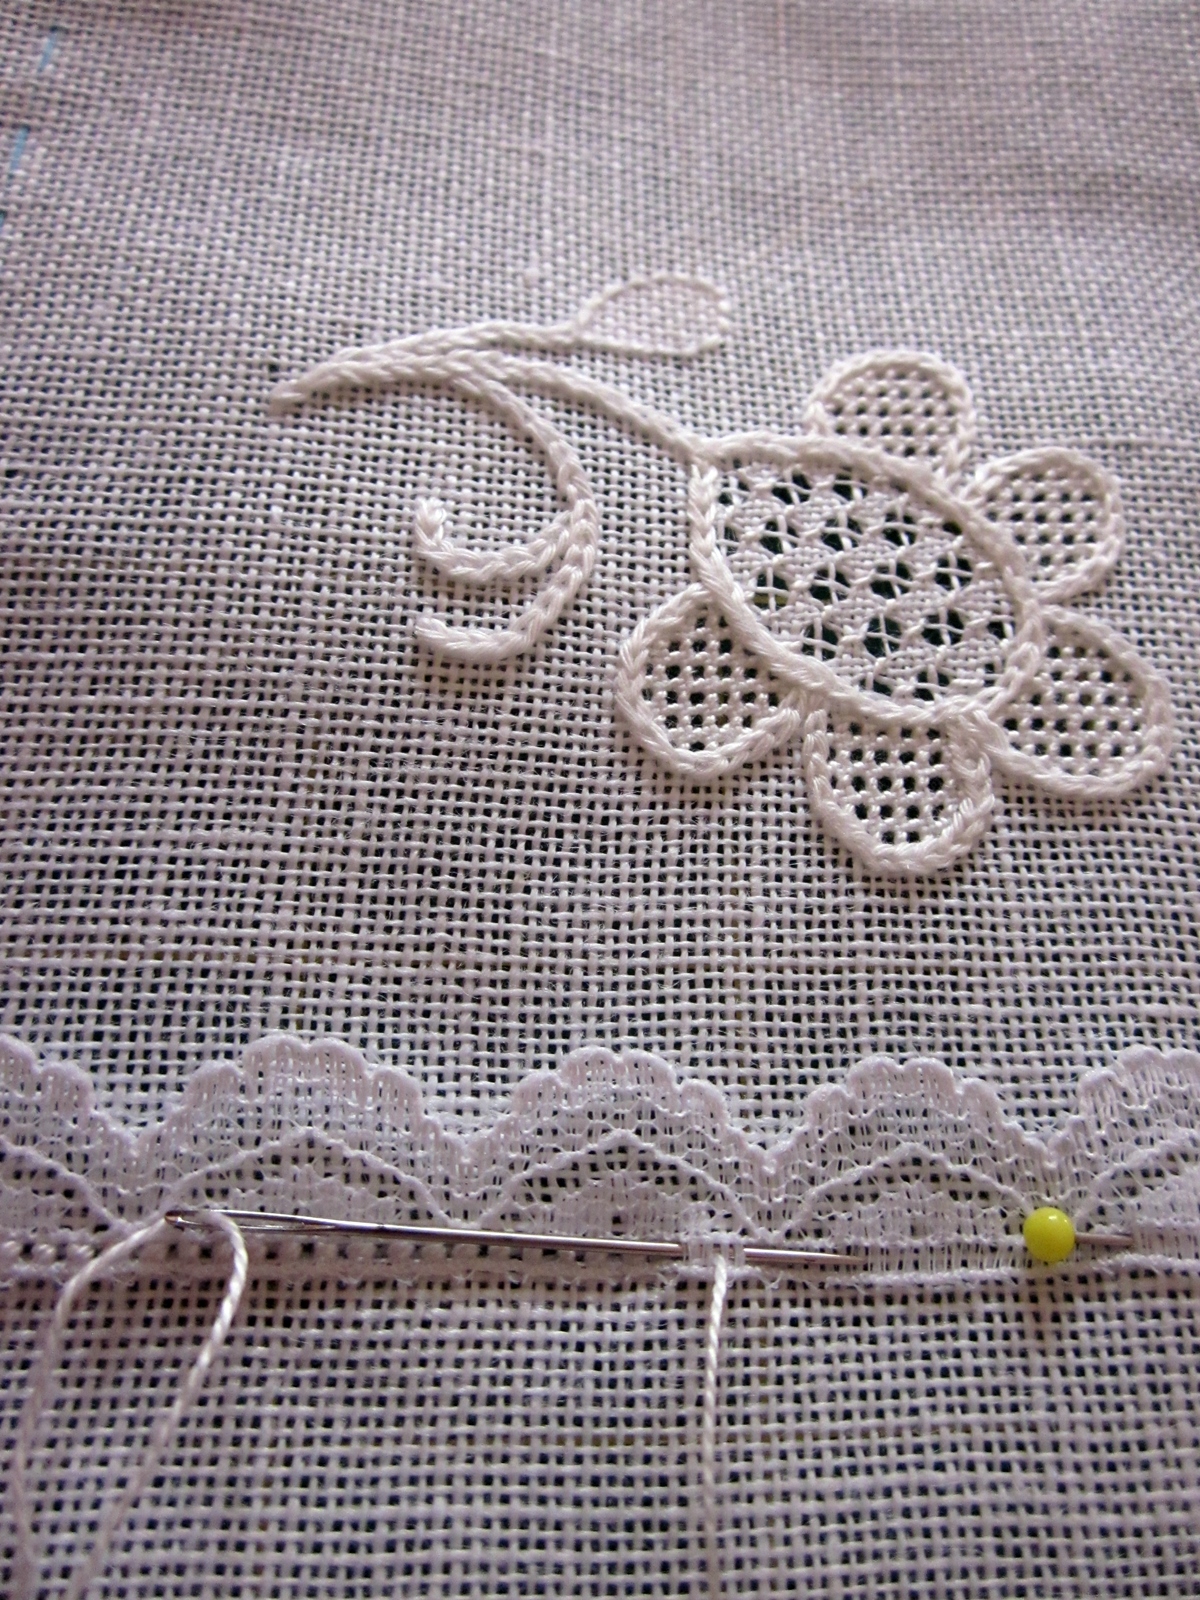
The pattern has instructions and stitch diagrams for a collection of pulled thread stitches, worked in bands across the linen. There's also a pretty row of daisies in-between and the embroidery is finished off as a pincushion. It's a digital pattern and easy to download from the link that Etsy sends with your receipt.


Visit my shop Lynlubell on Etsy to browse all the patterns, or go directly to have a look at the Daisy Band Sampler pincushion pattern by clicking here.

Till next time, happy stitching!

Monday, January 30, 2023

Pastel Candies - Pretty on Point

With a selection of pretty pastels and no set plan in mind, I've been trying out a few ideas for a canvas work pincushion. Starting with pink and lavender blue, I soon settled on the centre. I remember seeing something similar in a small Good Housekeeping booklet some years ago. I like the unusual swirling effect when you turn it and look at it from an angle.

I tried out colours and stitches for the next rounds, and after stitching and unpicking some of them, I remembered to take this photograph. 


It's been a busy and happy few months with family around and I picked it up and put down with little progress. That is until last week. The pincushion is now almost finished and I'll post more once I've sorted through my photos.

I hope you have made a good stitching start to the year.
Till next time, happy stitching!


Wednesday, January 25, 2023

Ukrainian Embroidery

Embroidery in Ukraine has a rich history. It can be traced back over 2000 years and there are many styles and colours based on the different areas in the country while the motifs themselves are rich with symbolism. 

Marina, Katerina and Valeriya have been embroidering and selling vyshyvankas to raise funds for the Ukrainian war effort and to popularise the icon of Ukrainian culture [Pearly Jacob/Al Jazeera]

A group of embroiderers who fled Ukraine and who meet up in a coffee shop in Tbilisi, Georgia are keeping the embroidery of Ukraine alive in various ways. Some stitch brooches as well as vyshyvankas, a shirt embroidered with colourful motifs, and take various commissions.

Details of a century-old pattern from the region of Chernihiv on natural hemp cloth that 24-year-old Maryana Lyba is currently working on for a US-based client [Courtesy Maryana Lyba] Source: Aljazeera.com

Numerous other enterprises based on Ukraine's embroidery are continuing despite the difficult circumstances they find themselves in. Part of the funds raised go in some way towards the war effort. 

The original article can be read here on Aljazeera.com. I found it a fascinating read.

Sunday, January 1, 2023

Happy New Year

An email from the Royal School of Needlework popped into my inbox today displaying this interesting canvas work piece by Hakyung Choo.

Canvaswork by RSN Hampton Court Palace Certificate Student Hakyung Choo

It seemed perfectly timed to wish you a Happy New Year!

Friday, December 23, 2022

Almost Christmas

Two days to go to Christmas, the tree is decorated, and the grandchildren are full of anticipation and excitement. We had a hilarious game of charades, a firm favourite of all four children. I even performed such a convincing act that my son-in-law guessed immediately that the word I had to act out was 'popcorn'!

I hope you have a happy Christmas and peaceful holiday season. 'Till next time, happy stitching!

Tuesday, December 6, 2022

Delicious colours

I'm playing with these delicious pastels. Paternayan wool, also known as Paterna, is lovely for stitching on 14 count canvas. 

I found the soft ice-cream colours at the All Threads Embroidery shop in Brisbane. What a marvellous little shop it is for anything embroidery! It seems that I was fortunate to find any Paterna wool there at all. In future they will be stocking only Appletons crewel wool because of the continuing Paternayan supply issues. 

In my last post here, I was looking forward to a trip to South Africa to visit family. Well, things don't always work out the way we want them to and I ended up in bed with flu instead and had to cancel my flight. So, I have no travel news to share with you. 

I hope your plans for the festive season are going well. Our Christmas tree and decorations have just gone up with lots of help from my grandchildren. It's a bit later than usual but still in plenty of time to sprinkle some pre-Christmas cheer.

Till next time, happy stitching.

Tuesday, November 1, 2022

Dressing a Scroll Frame

Since refurbishing my scroll frame, that I wrote about in my last post here, I've now attached my linen to the frame. That too was quite a lengthy process. The book Whitework by Lizzy Lansberry, a Royal School of Needlework publication, and Jenny Adin-Christie's video on dressing a slate frame were both very useful guides (although a slate frame and a scroll frame are slightly different). These photos are a record to remind me of how I did it.

 To begin, I ironed the shop creases out of the linen and pulled a thread one centimetre from the edges.


That made it easy to fold over a straight hem and machine stitch it in place on all four sides. It's a fine linen and I thought it needed reinforcing. The side hems weren't a problem when the linen was later rolled onto the scroll bars, though it could be the case with a heavier linen.


With plenty of pins to secure the linen in place, I stitched it to the cotton twill tape on the top roller bar, beginning in the centre and working outwards. Years ago someone gave me an unused ball of DMC Cordonnet 100. It's a nice strong thread for attaching the linen. I had to use a little slip of folded paper to coax the dense hard thread through the eye of my needle.


It was awkward stitching close to the wooden dowel and with the pins close by, so stab stitching was the best option. I found it interesting that the stitches are better worked at right angles to the dowel rod.


It's seldom that I use a thimble but this time my fingers soon got sore and out it came.


This is half way with the linen attached to the top and bottom rollers. I was able to roll up the excess linen and tighten the wing nuts to hold it really taut. So far so good.


Along the sides, I attached twill tape to the linen after I had rolled up the excess linen. This might not be the best way to do it, but if the thick tape was attached and then rolled up with the linen, I thought the layers of tape on the sides of the rollers might distort the fabric once it was under tension. It does mean that if  I need to unroll and work on that bit of linen, I'll have to re-attach the sides. For now that is in the distant future and by then I might have other plans for that small strip of linen.


I used Thread Heaven thread conditioner on the rough dry string so that it passed more easily through the tape. And the vicious-looking upholstery needle poked through the thick twill with ease. I was a bit skeptical about it. However, I soon became comfortable working with the long curved needle around the obstruction of the wooden sides of frame.

And here it is, all framed up. Setting up the linen in the scroll frame seemed like a lot of work, but once the string was tensioned, the linen was as tight as drum. There are no creases in sight, and it was well worth the time spent.


Working on the frame is on hold for now because I'm preparing to go to a family reunion in South Africa soon. I will take a couple of small embroidery projects with me. After all, what is a holiday without a little embroidery?

'Till next time, happy stitching! 

P.S. 30/01/2023 Jessica Grimm also has a video on dressing a slate frame here.

Monday, October 17, 2022

Nuts, Bolts, Dowel Sticks and the Laughing Cavalier

Linen is notorious for creasing. I want to do some pulled thread on a 50 count linen but this small, neatly folded piece proved even more difficult to press than usual, despite an eventual thorough drenching. If I wanted to avoid creasing the linen with a round embroidery frame, it seemed like I would have to exchange my usual small hoops for a larger, square frame. 

Years ago my father made me a scroll frame after I had seen one at the Knitting Bar in Benoni. The shop assistant recommended that I put my 'tapestry' of the Laughing Cavalier onto an embroidery frame and showed me one that had been set up in the shop. 

The Laughing Cavalier by Frans Hals, courtesy Wikipedia

My budget didn't stretch to a frame after totting up the pile of tapestry wool I needed. Instead, my dad listened to my description, dug around in his garage, and two days later I woke up to find, thanks to both my mom and my dad, my canvas mounted in a scroll frame, ready for stitching. All I have left of the frame are the wooden side bars. 

Two new dowel sticks, some twill tape and I thought I'd be ready to try out the new linen in my treasured old scroll frame. It wasn't quite so straightforward. The original dowel sticks had been used for something else and were missing so I had no sample of the correct size. And the nuts and bolts on the side bars were solidly corroded in place. 

The local hardware store helped find suitable bolts and matching wing nuts. The dowel sticks were however either too big or too small. After much thought and consulting the trade catalogues, the conclusion was that the original ones might have been Imperial rather than metric sizes. We finally settled on a larger dowel. 

I plan to work some samples of pulled work and want to mount the whole piece of linen.  Much measuring and discussion later, my husband cut two lengths from the dowel stick long enough to accommodate the width of the linen. After sanding them they slipped snugly into the side bars. 

The next step was to attach cotton twill tape to the dowels. First idea was to use a hammer and small nails. But we couldn't bury the nail heads deeply enough. Thanks to google, my husband found a staple gun that looked like it would do the job. And it did.


It was easy to tap the staples well into the twill tape so they couldn't snag on the linen. Now I can mount my lovely fabric.

The experiment to resurrect my old scroll frame took longer than I expected, but I'm very pleased with the result. My dad would have been delighted with it.

'Till next time, happy stitching.

Tuesday, September 27, 2022

The Birds and an Experiment

These have been in my sewing cupboard for a very long time. If you remember the Knitting Bar in Benoni, now long gone, you may have seen something similar in their window. They were not only a wonderful knitting shop but also sold embroidery supplies. I want to see whether I can use them again.

On another note, spring seems to arrived quite suddenly and we have been sitting out on the patio watching the rainbow lorikeets zoom past. Then there are the kookaburras with their amusing laughing call who are swooped mercilessly by the noisy miners, an extremely territorial bird. This little kookaburra sat cheekily eyeing the fish in the fish tank - until the noisy miners spotted it and chased it off.

Lately the galahs with their bright neon pink chests are back, waddling around hilariously in the park. It's interesting to see how carefully they choose which grass seeds to eat.  

Spring is also the start of the rainy season here and we have had our first lovely rain. The lorikeets are far too quick to photograph, but before the storm there were about fifteen fussing and squawking  in the big trees and then racing off across the park. 

Brisbane has had an unusually cold winter and the lovely warm weather is very welcome, not only for  for the birds, but for me as well. 

'Till next time, happy stitching.

Monday, September 5, 2022

Oblong Pulled Thread Pincushion

This little pulled thread embroidery sample became my first oblong pincushion. With no fixed plan in mind, the pincushion grew from this small design as I went along.

I damp stretched the embroidered flower sprig before deciding what to do with it. Most of my pincushions are square. This time I wanted to try something different.

The embroidery seemed a little plain on its own. Perhaps it needed some lace on either side to soften it? Cotton lace looked too heavy, so I went with a lighter synthetic lace instead. I would normally stick to all natural fibres, but the synthetic lace gave the delicate effect I was looking for. Backstitch over two linen threads secured the lace to the embroidery.

I had to iron the linen very carefully after I added the lace. With the high heat that linen requires, the lace would have shriveled up under a too hot iron. Once the lace was stitched in position, I withdrew a thread, four threads away from the backstitched lines.

Hemstitch would open up the gap left by the withdrawn thread a little further and give the lace an 'anchor'. The first row of hemstitch is on the left in the photo below. It needed more than this.

I finally settled on a row of hemstitch on both sides of the withdrawn threads. The hemstitched rows finished off and balanced out the design, 


When developing a new pattern, I sometimes stitch a number of samples to adjust the design, or test out stitches, tension or finishing ideas.  An oblong pincushion was the my initial idea for the flower sprig design, but I eventually chose to stay with a square pincushion shape. Instead of adding lace as I did for the oblong pincushion, I chose four-sided stitch to border the central motif.

Visitors to my Etsy shop Lynlubell may recognize the Flower Sprig pincushion which is available in the shop as a digital pincushion pattern. Click here to visit the shop and view the pattern.

Till next time, happy stitching!