Last week I finished binding one of the quilts I have been working on and it's ready to go off to my youngest grandson. He ran around excitedly pointing and saying 'that's my quilt' when he saw the pieced top on the table. That was a few months ago. Why the delay in finishing it? I'll tell you more about that in another post.
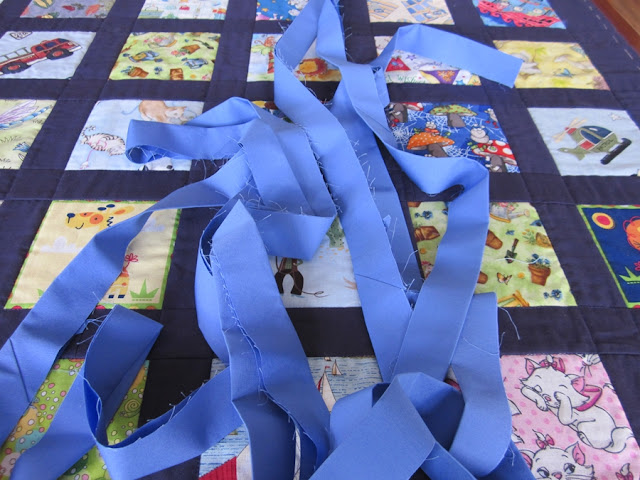
Blue fabric for binding?
Auditioning it against the quilt ... and, yes it's a go.
I used fleece on the back of the quilt for a soft snugly feel. It's easy to machine quilt too. I think I stretched the fleece when I laid it out with the quilt top over it and tacked the two layers together. After quilting, the quilt top is not as smooth as I would have liked.
I trimmed the excess off the edges off the quilted layers, cut 6 cm binding strips on the straight, joined them and ironed them in half lengthwise. The 6 cm strip finishes to a 1 cm wide binding.
I sewed the binding to the front of the quilt matching the raw edges.
The walking foot for my machine fed the layers through evenly with no pinning necessary.
Checking on-line to refresh my memory about binding a quilt, I came across
Jenny Doan's excellent video. I had forgotten how easy mitred corners can be when you sew straight off the end as you get to the corner, lift the foot, make a quick fold and sew straight down the second side. Believe it or not that odd looking corner below turns over into a neatly mitred corner. Watch Jenny show you how in her video
here.
 |
| Correct way to machine stitch corner for a mitre. |
I hand stitched the binding down on the back and put a few stitches in the corner to hold the mitre in place.
Finally, it's done.
Now to finish my granddaughter's quilt.
----------------------------
Disclosure: I did have a bit of unpicking to do. Thinking 'mitre' when I sewed the binding to the quilt, I folded a 45 degree angle by mistake - twice! This does not work no matter how hard you try.
 |
| Wrong way to machine sew a mitre for binding on quilt! |
Till next time, Happy stitching!


